Quick Start
Installing the package
NPM
npm install @socket.tech/plugin
Yarn
yarn add @socket.tech/plugin
Adding .env
// Socket public testing API Key
SOCKET_API_KEY = '72a5b4b0-e727-48be-8aa1-5da9d62fe635'
Importing the widget in the code
Copy the snippet below to get started! Pass the API_KEY from the .env file and Provider from user’s connected wallet.
import { Bridge } from "@socket.tech/plugin";
import { Provider } from "./providerComponent";

function SocketBridge() {
  return <Bridge provider={Provider} API_KEY={process.env.SOCKET_API_KEY} />;
}

export default SocketBridge;
That’s it! You’ve successfully plugged your DApp into Socket! 🔌 You should be able to see the Socket widget on the UI. The widget’s default width is fixed to 360px and height is auto adjusted. For further customising the widget, check the section below!
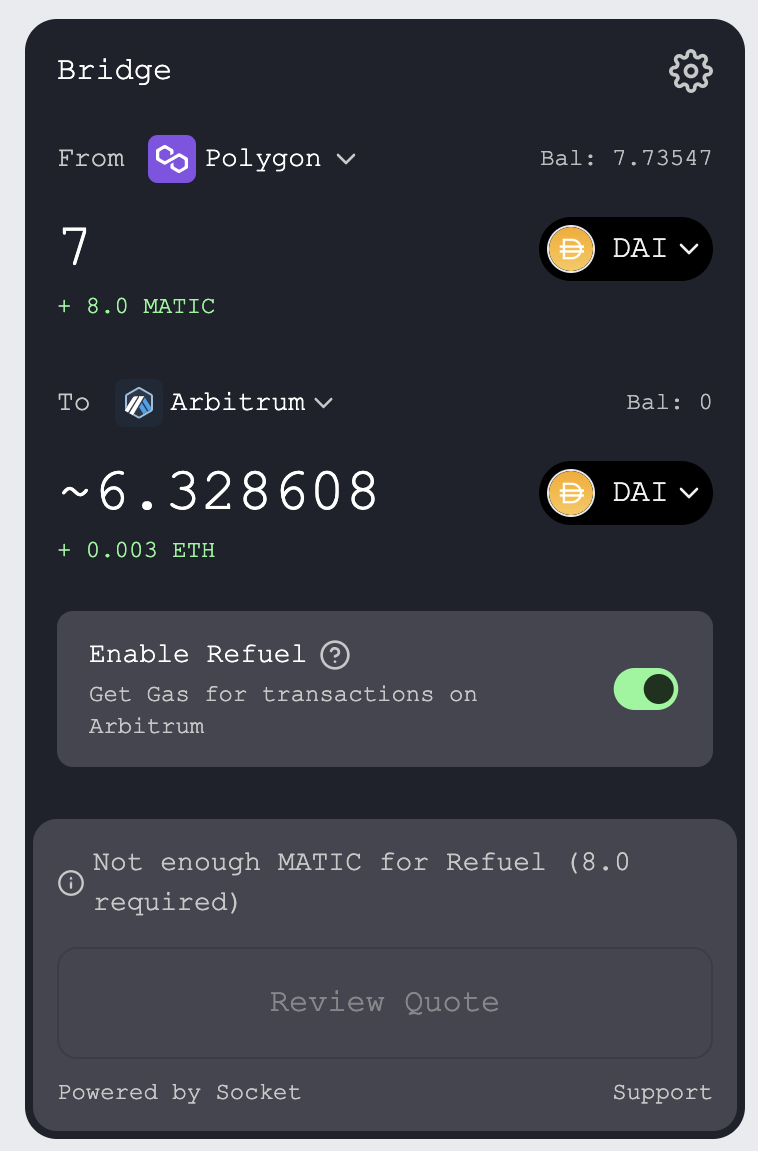
Enabling Refuel
Refuel lets users deposit small amounts of native token (GAS) on one chain & receive equivalent $ value of native token on another chain. (E.g deposit 10 MATIC on Polygon & receive 0.003 ETH on Optimism). Refuel can be used in parallel to bridging such that users can bridge their assets through any bridge and also receive GAS on the destination chain via Refuel. Refuel option can be enabled on the UI by passing enableRefuel as prop & setting it to true.
import { Bridge } from "@socket.tech/plugin";
import { Provider } from "./providerComponent";

function SocketBridge() {
  return (
    <Bridge
      provider={Provider}
      API_KEY={process.env.SOCKET_API_KEY}
      enabledRefuel={true}
    />
  );
}

export default SocketBridge;
Same Chain Swaps
PlugIn also supports direct DEX swaps. Same Chain swaps can be enabled on the widget by setting enableSameChainSwaps to true. Users can then simply set “From” chain and “To” chain to the same chain on the UI & select tokens they wish to swap. Learn more about DEXes supported by Socket here.